
Meet Wrigley
Wrigley says: "Yesterday's dinner. Tomorrow's garden. Finally, leftovers with ambition."
Choose your approach
An outdoor pile or bin suits a garden with space for leaves and trimmings. A contained bin can make the area tidier. A slower, add-as-you-go pile asks less work of you; a managed hot pile needs more attention and enough material. Neither needs to become an expensive hobby. Check local rules and pest considerations before choosing a location.
Start with these four ingredients
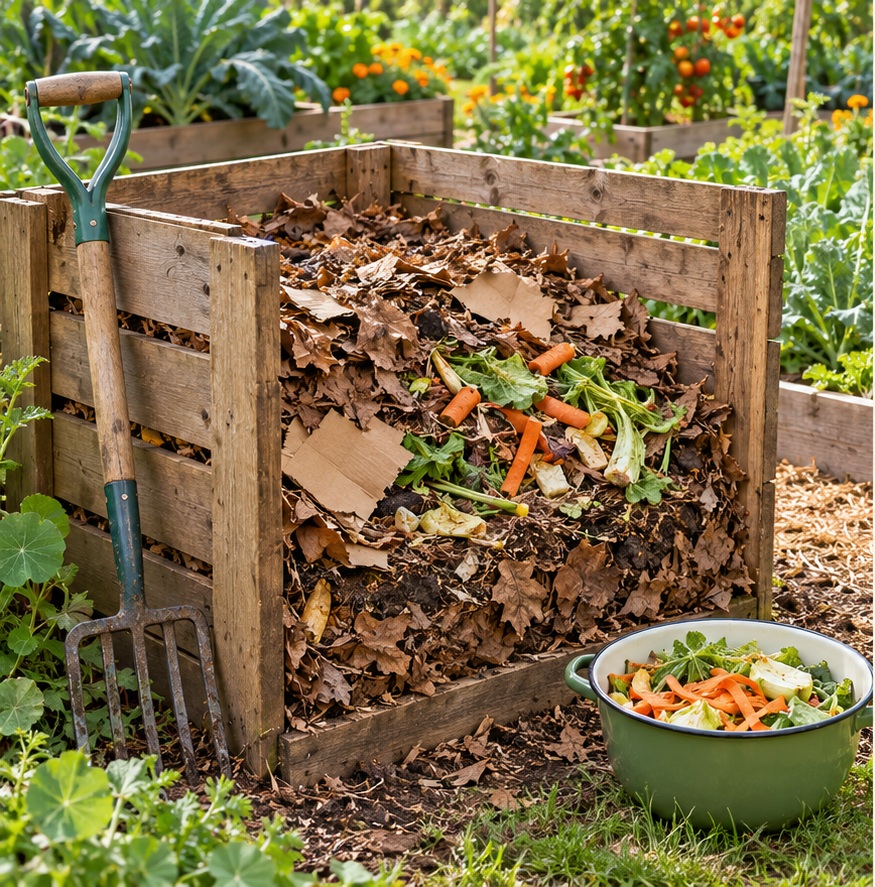
Use vegetable scraps and coffee grounds as greens; dry leaves and torn plain cardboard as browns. Remove tape and plastic. Add roughly two to three containers of loose browns for every container of greens. Keep everything damp like a squeezed sponge, with air moving through it. Chop bulky scraps and cover fresh food with browns. Turn occasionally. Leave out meat, dairy, oily food, pet waste, treated timber and diseased plants.
Read the pile
A sour, soggy pile needs dry material and better airflow. A dry pile needs moisture. A small or cool pile may simply take longer; warmth is not the only sign of progress. Keep a little notebook: what went in, whether it was wet or dry, and what changed. Adjust one thing at a time.
Wrigley says: "Damp sponge. Not soup. I didn't bring a boat."
Let it finish
Look for dark, crumbly material with an earthy smell and little recognizable food. Give it time to mature before adding it to your garden; finished compost improves soil, but unfinished scraps are not ready-made potting mix. This is a soil-garden project. We are not recommending homemade compost liquid as a substitute for balanced hydroponic nutrients.
The budget win comes from using suitable materials you already have. There is no guaranteed dollar saving: a purchased bin, tools and your time still count. Your first task is simple: collect one container of suitable scraps and a larger supply of dry leaves or plain cardboard.
Grow it. Save it. Enjoy it.