
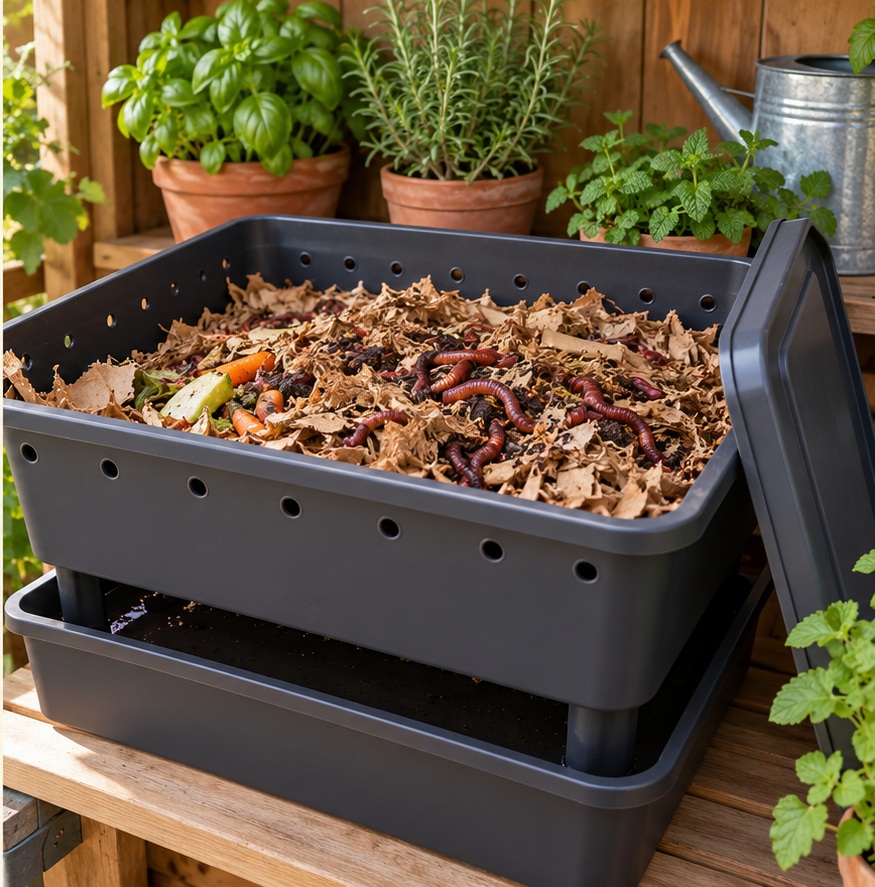
Meet Wrigley
Meet Wrigley: "You call it a banana peel. I call it the tasting menu."
Give them the right home
Choose red wigglers, commonly Eisenia fetida, from a reputable supplier or an established worm keeper. Ordinary garden earthworms are not a substitute. Use a clean, opaque container with a lid, ventilation and drainage into a catch tray. Never reuse a container that held harmful chemicals. Carefully drill the holes, and keep the worm bin above any collected liquid.
Bedding comes first
Tear plain cardboard or non-glossy paper into strips, moisten it, squeeze out extra water and fluff it up. The worms need a damp, airy habitat rather than a puddle. Keep the bin shaded, protected from rain and temperature extremes. A practical target is about 15–25°C; check the bedding temperature, since a sunny enclosure can become much hotter than the air.
Serve small portions
Once the worms settle, bury a small amount of chopped vegetable or fruit scraps beneath bedding. Watch how quickly it disappears before offering more. Skip meat, dairy, grease and pet waste. For a straightforward beginner menu, also leave out large quantities of citrus, onions and garlic. Cover food and rotate feeding spots.
Wrigley says: "A buffet is lovely. Being buried under it? Less lovely."
If the bin complains
Smells or uneaten piles mean it is time to stop adding food and check moisture, bedding and airflow. Add dry bedding if soggy. Mist if too dry. Investigate escaping worms rather than simply blocking them in. This is a living system, so check it regularly.
Harvest patiently
Expect months rather than an instant supply. One approach is to put fresh bedding and food on one side, allowing worms to move over while the older material finishes. Sort out remaining worms before using the finished vermicompost sparingly in soil or potting mixes. It is an amendment, not a complete growing medium.
For this beginner project, do not use liquid drained from the bin on edible leaves or in a hydroponic reservoir. We are teaching soil improvement, not a homemade hydroponic nutrient recipe.
Save money with clean reused containers and cardboard; the correct worms may still cost money. Ask a local worm keeper whether they have a starter colony to share. Start with one small feeding, observe, and build from there.
Grow it. Save it. Enjoy it.